


Use Distress Inks™ to tint and distress photos for a true vintage appeal in this card!
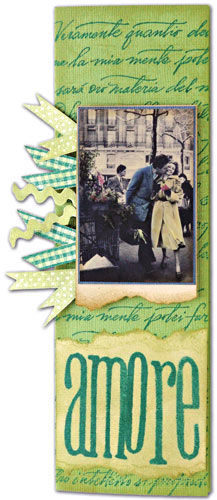
“Amore Card” By Tim Holtz
- Materials
- Instructions
- Ranger Cut n’ Dry™ Foam and Felt Pads
- Tim Holtz Distress® Ink Pads
- Ranger Non-Stick Craft Sheet™
- Stamps – “Italian Poetry” Hero Arts
- Foam Stamps – Making Memories
- Cardstock - Bazzill
- Black and white photo
Instructions
Tinting & Distressing Photos:
(1) Distress Inks work on most types of black and white photos – inkjet, laser, toner copies, regular photos (laminated photos will not work/picture machines).
(2) Tint your photos by swiping the nib on to a Distress pad and color directly on to your photo using the Cut n’ Dry Nibs for detailed areas – the inks blend without leaving any lines. For larger areas/backgrounds tint using a piece of Cut n’ Dry Foam applying in a circular motion.
(3) To Distress with Antique Linen using Cut n’ Dry Foam (direct to photo). Cover the entire photo working from the outside edges in. This will not smear any of the Distress Inks colors you tinted with.
(4) Next, age the edges with Vintage Photo or Walnut Stain by applying the ink with Cut n’ Dry Foam.
Instructions for Card:
(1) Stamp Italian Poetry background with Pine Needles Distress Ink on to folded cardstock.
(2) Tear additional strip of cardstock and stamp “amore” with foam stamps.
(3) Ink edges of card and torn strip with Shabby Shutters Distress Ink.
(4) Layer and adhere tinted photo to card.
Related Posts
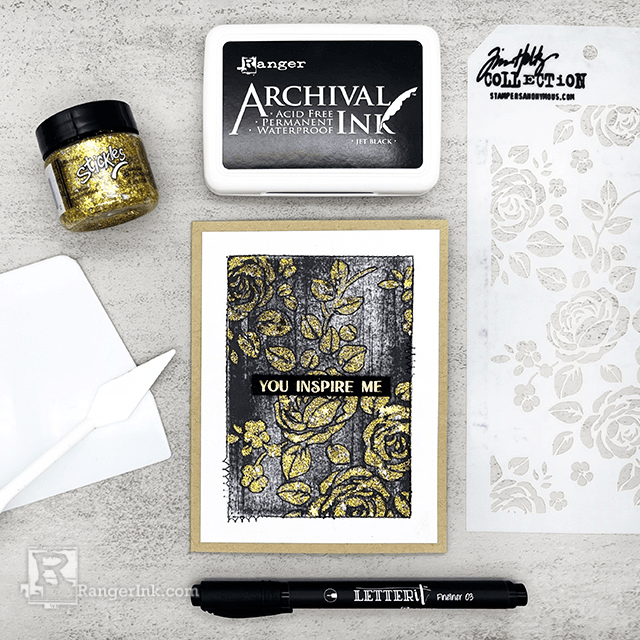
Product Play: Archival Inks, Stickles, and Doodling with Miriam Prantner
Add eye-catching texture and shimmer to your cards like Miriam Prantner did with this stunning floral design! In this tutorial,...
Read More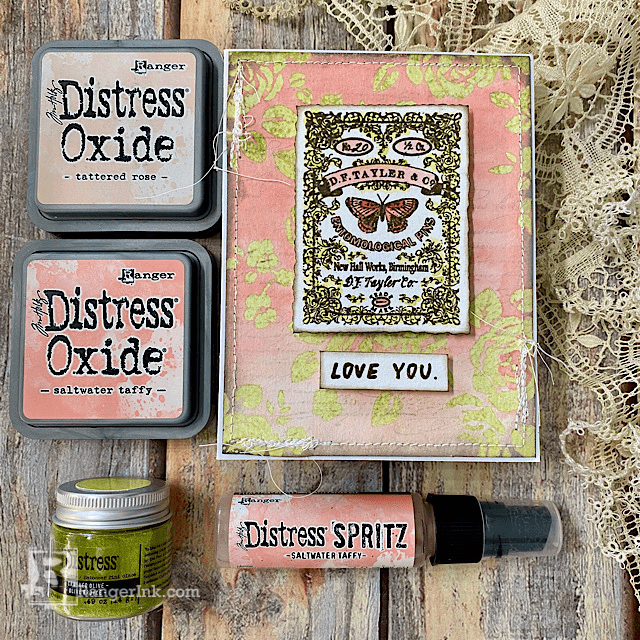
Distress Embossing Glaze Iron-off Resist Card by Tami Bastiaans
In this tutorial, Tami Bastiaans is sharing one of her go-to techniques — using Distress Embossing Glazes with the...
Read More